


Price:
$39.99
(as of Jan 06, 2025 06:20:24 UTC –
Details
)

From the brand


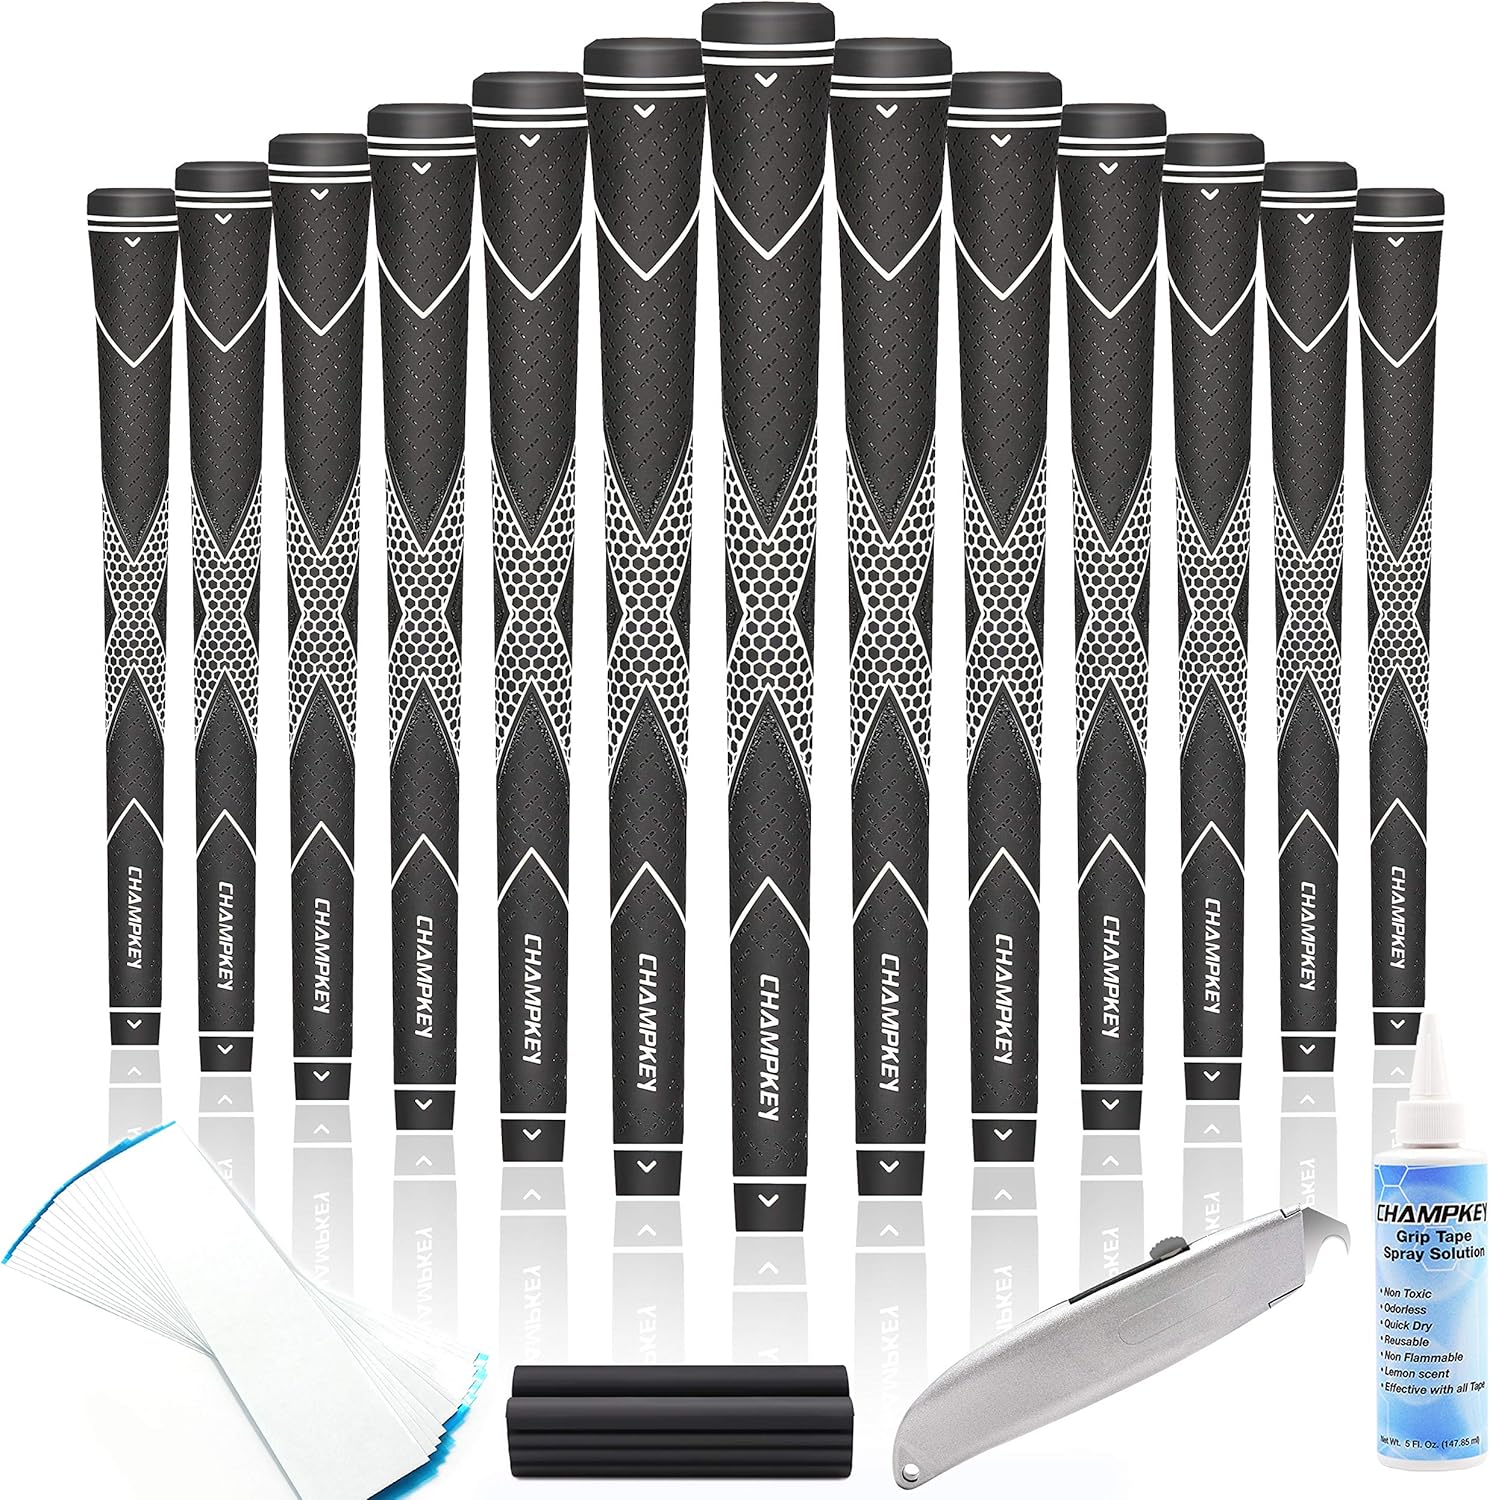
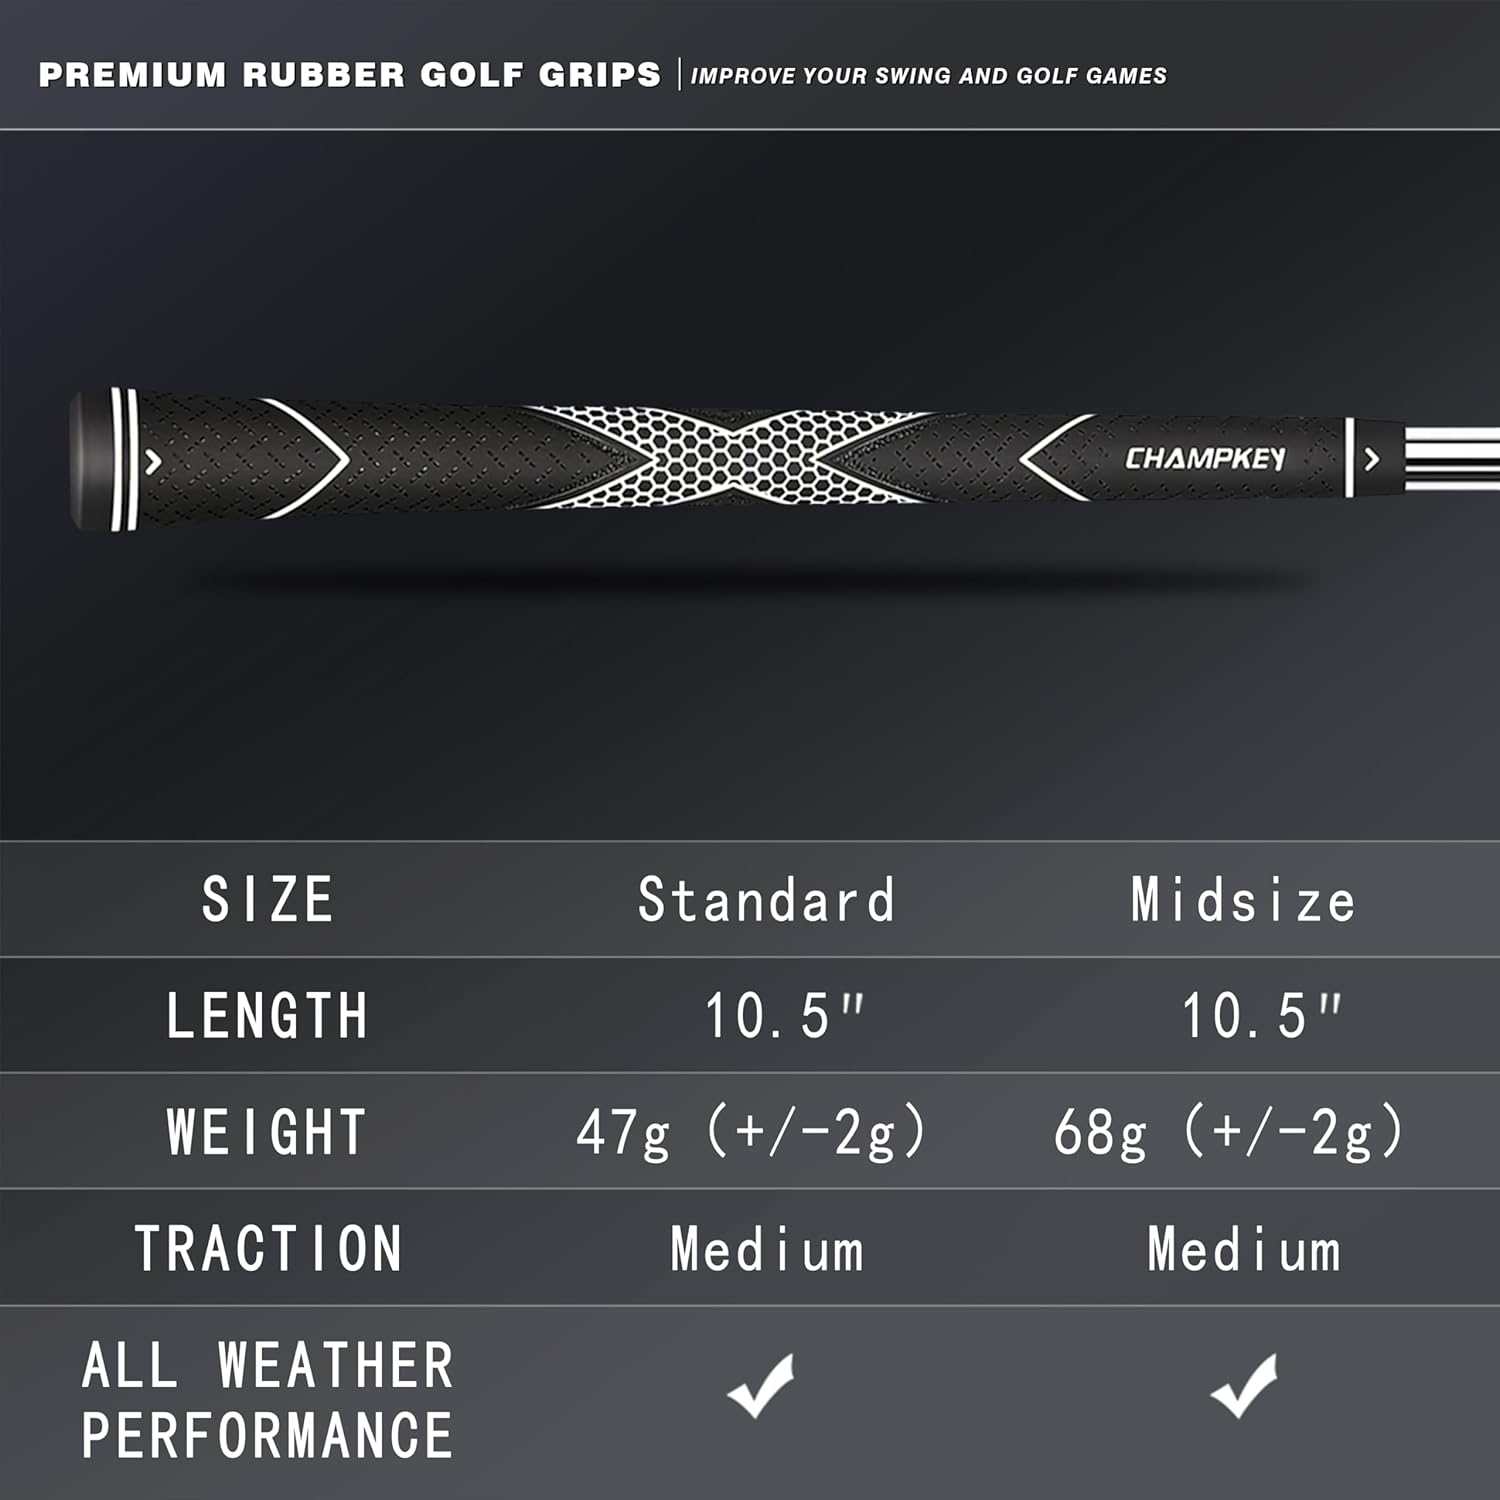
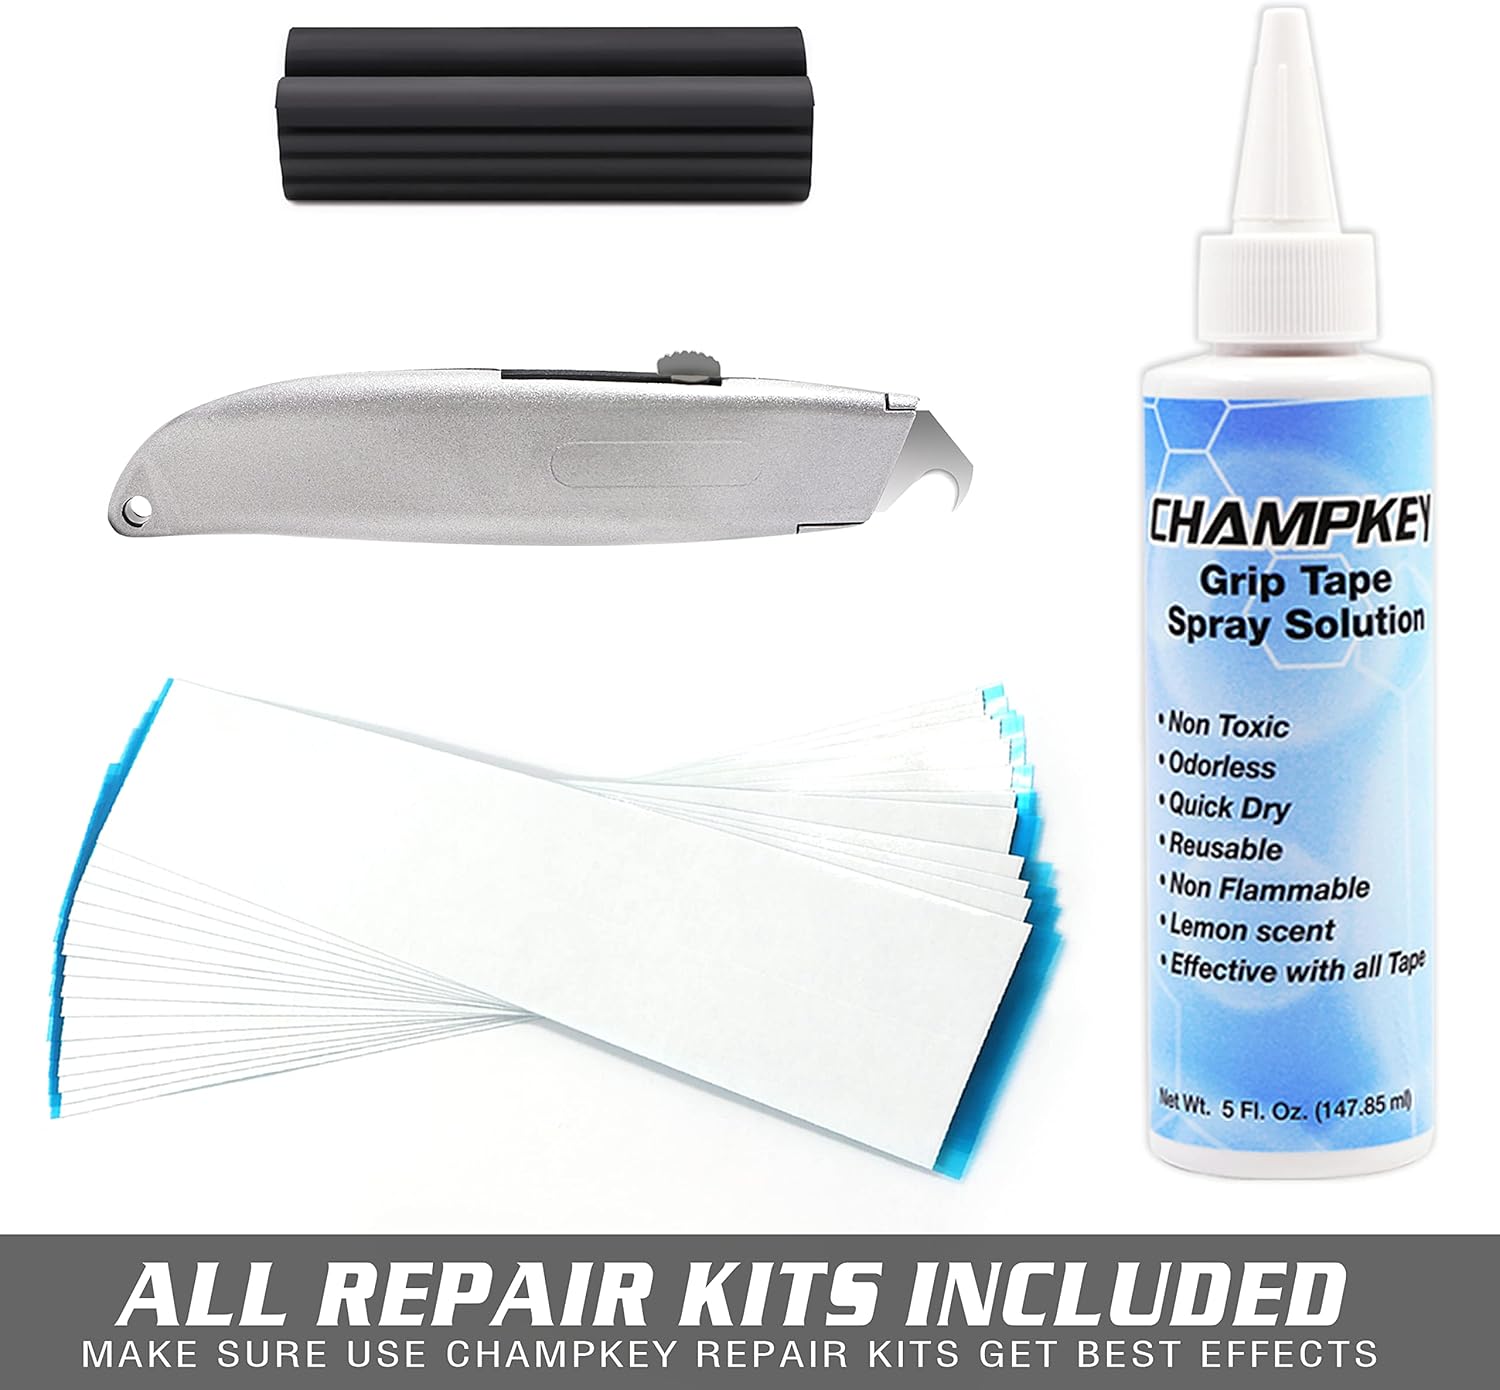
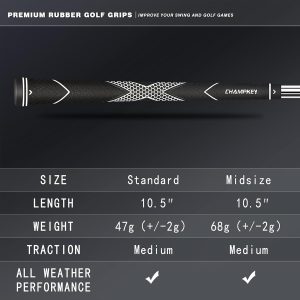
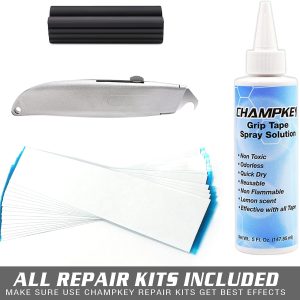
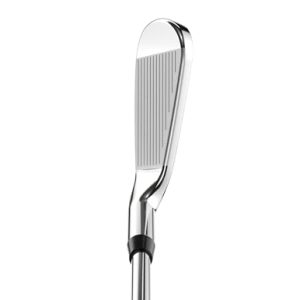
Package Includes : 13 * golf grips , 15* golf tapes ,1 * champkey grip tape spray solution,1*rubber vise clamp,1* grip blade.
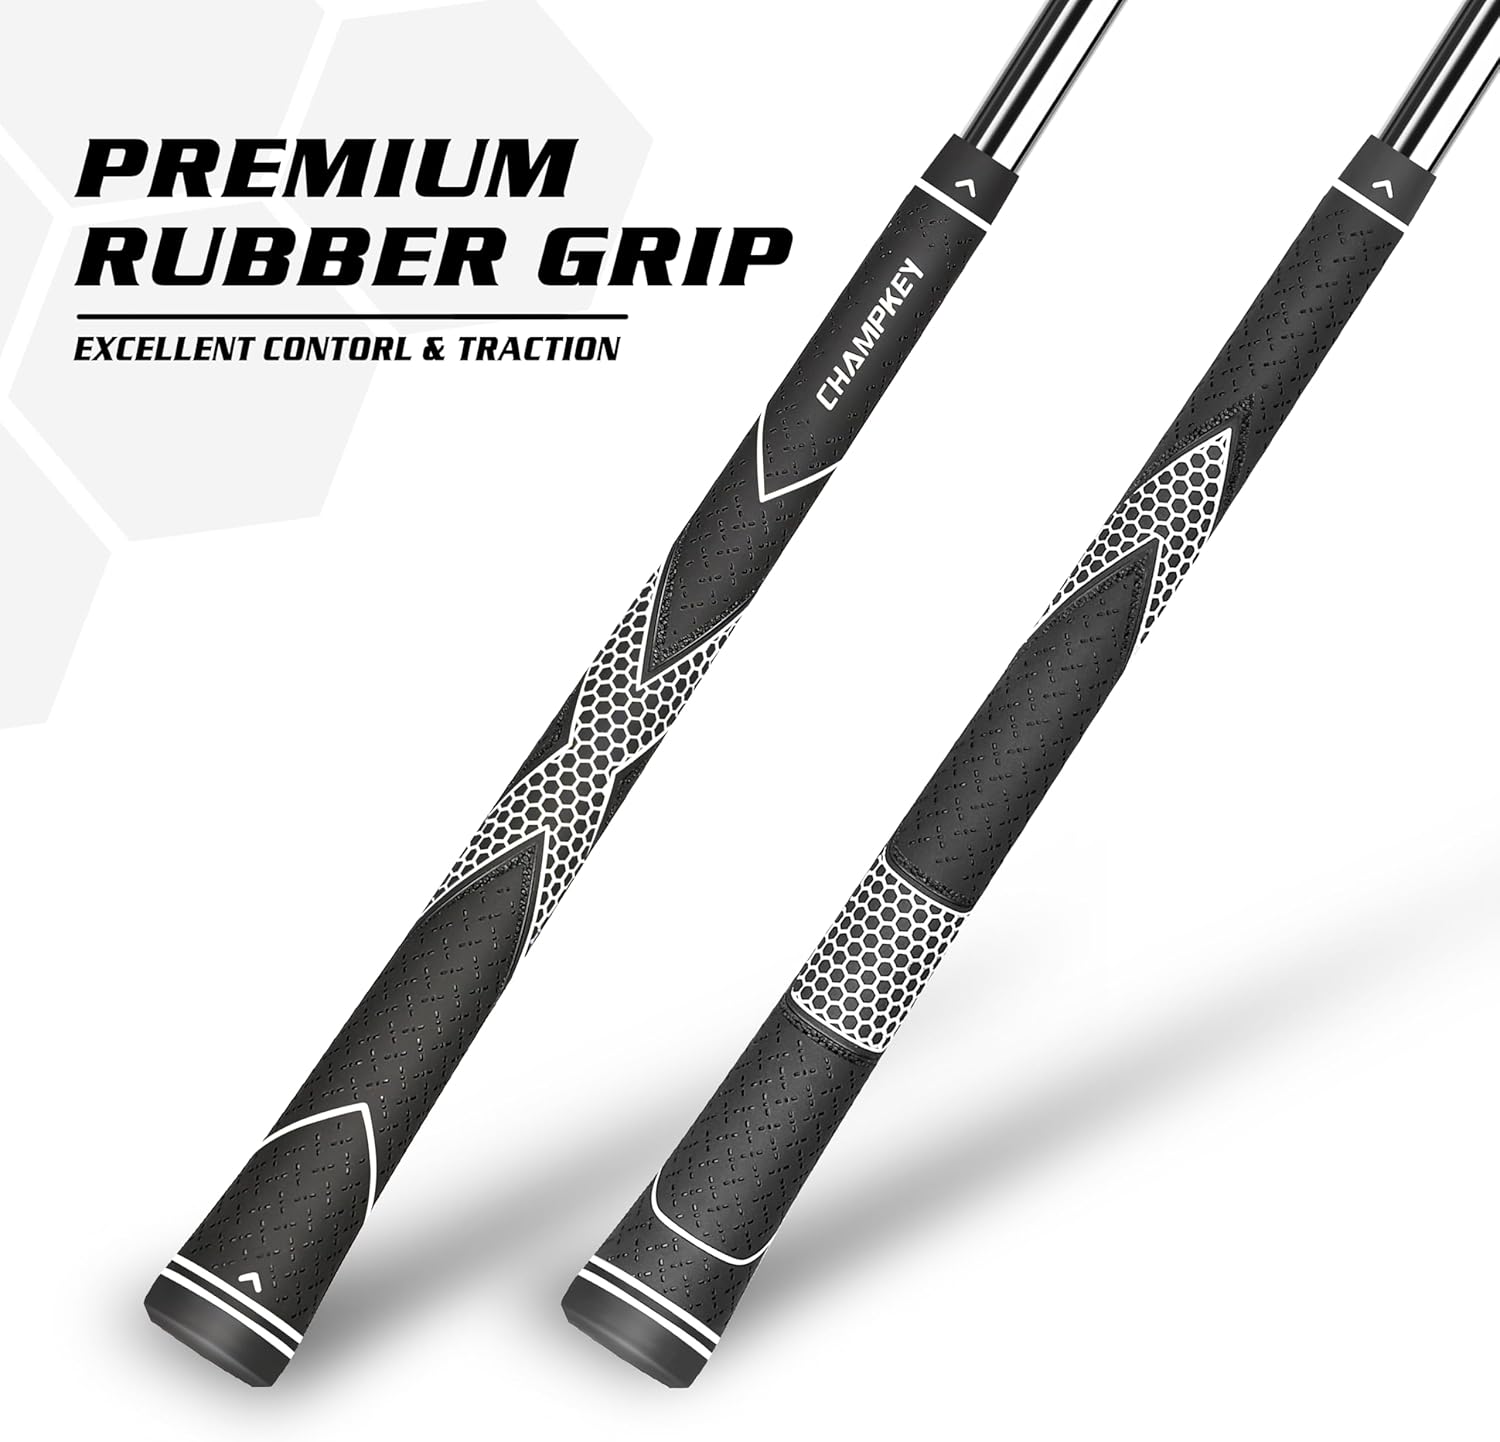
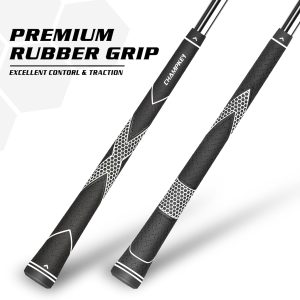
Proprietary Rubber Material : Exclusive high-feedback rubber material used to providing precise ball feedback and comfortable feel all time.
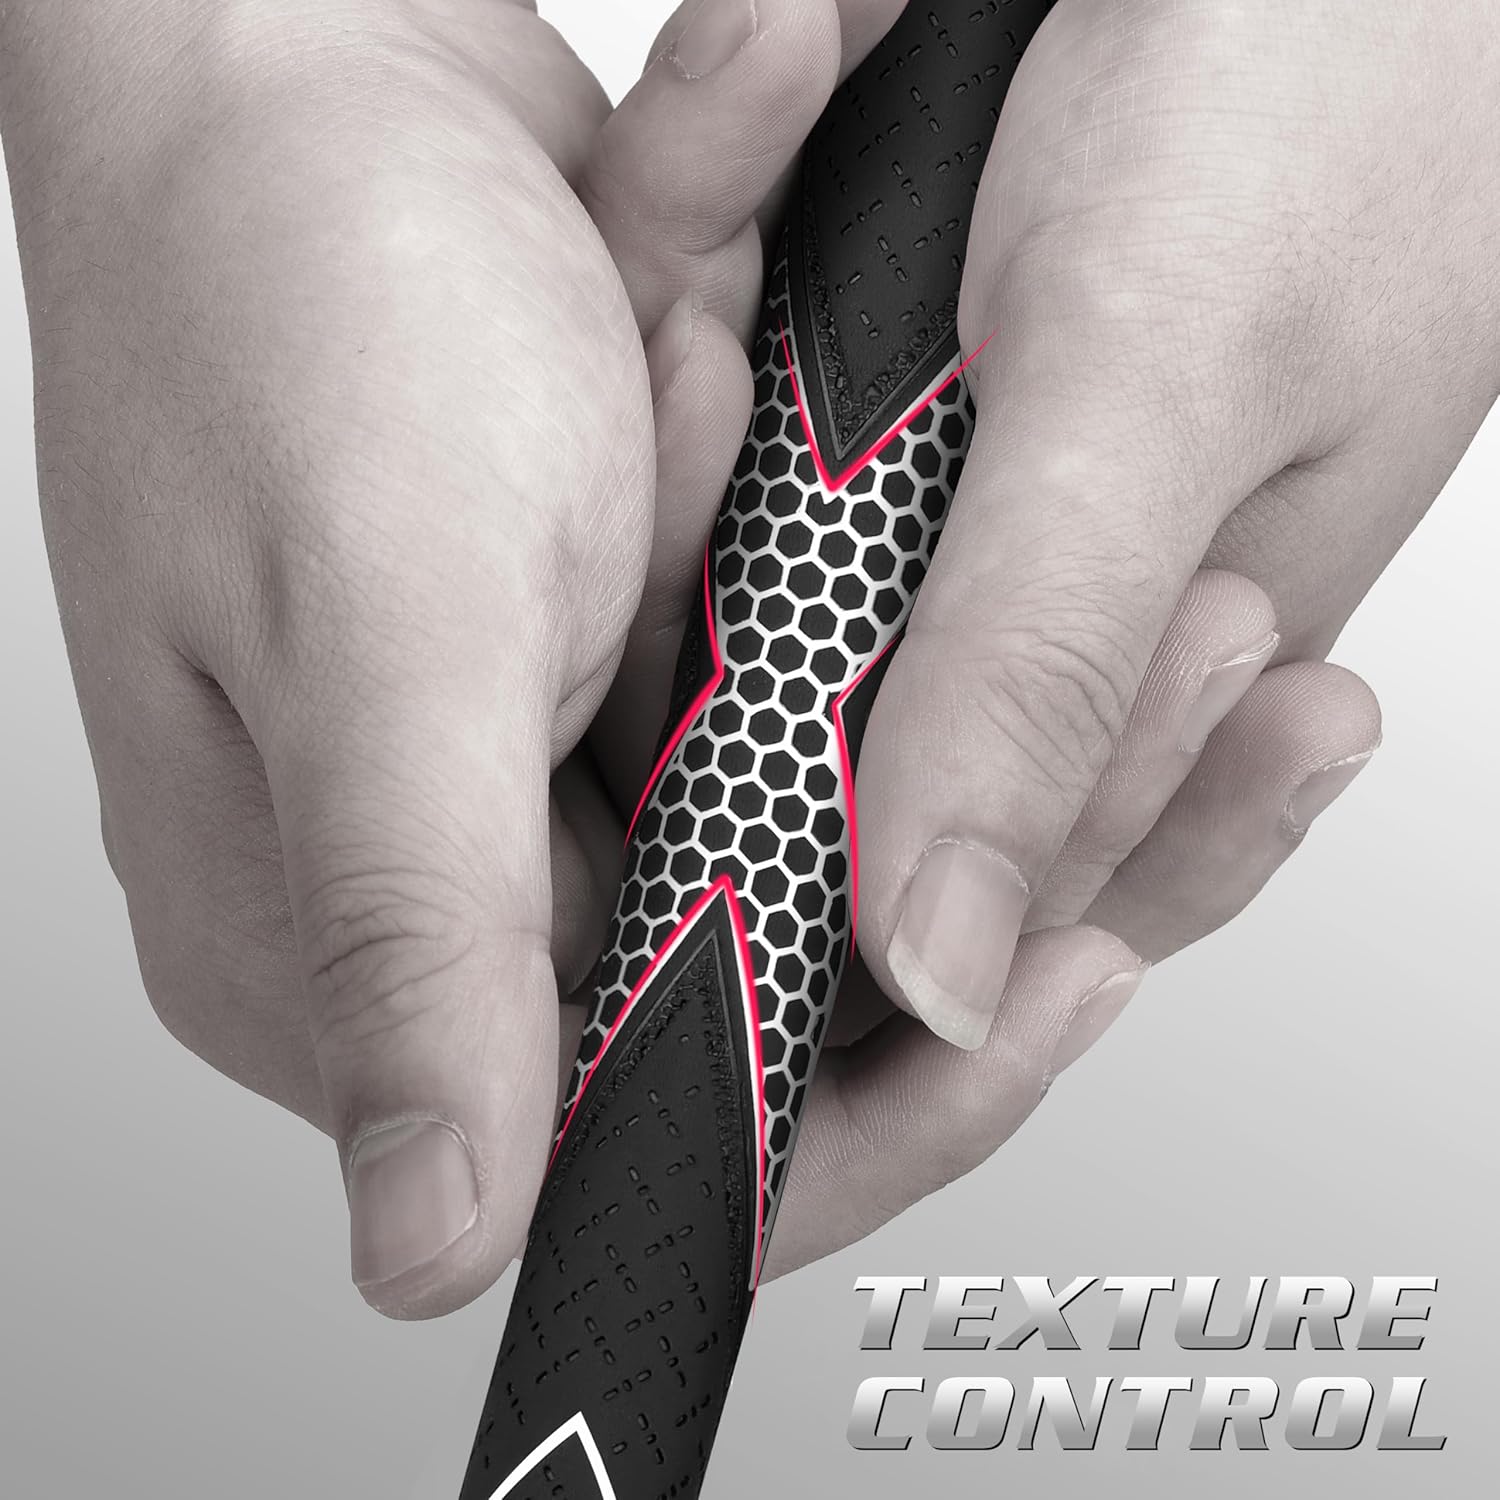
Texture Control : 3 kinds of micro texture used to improve traction & control and provide comfortable feel in any conditions.
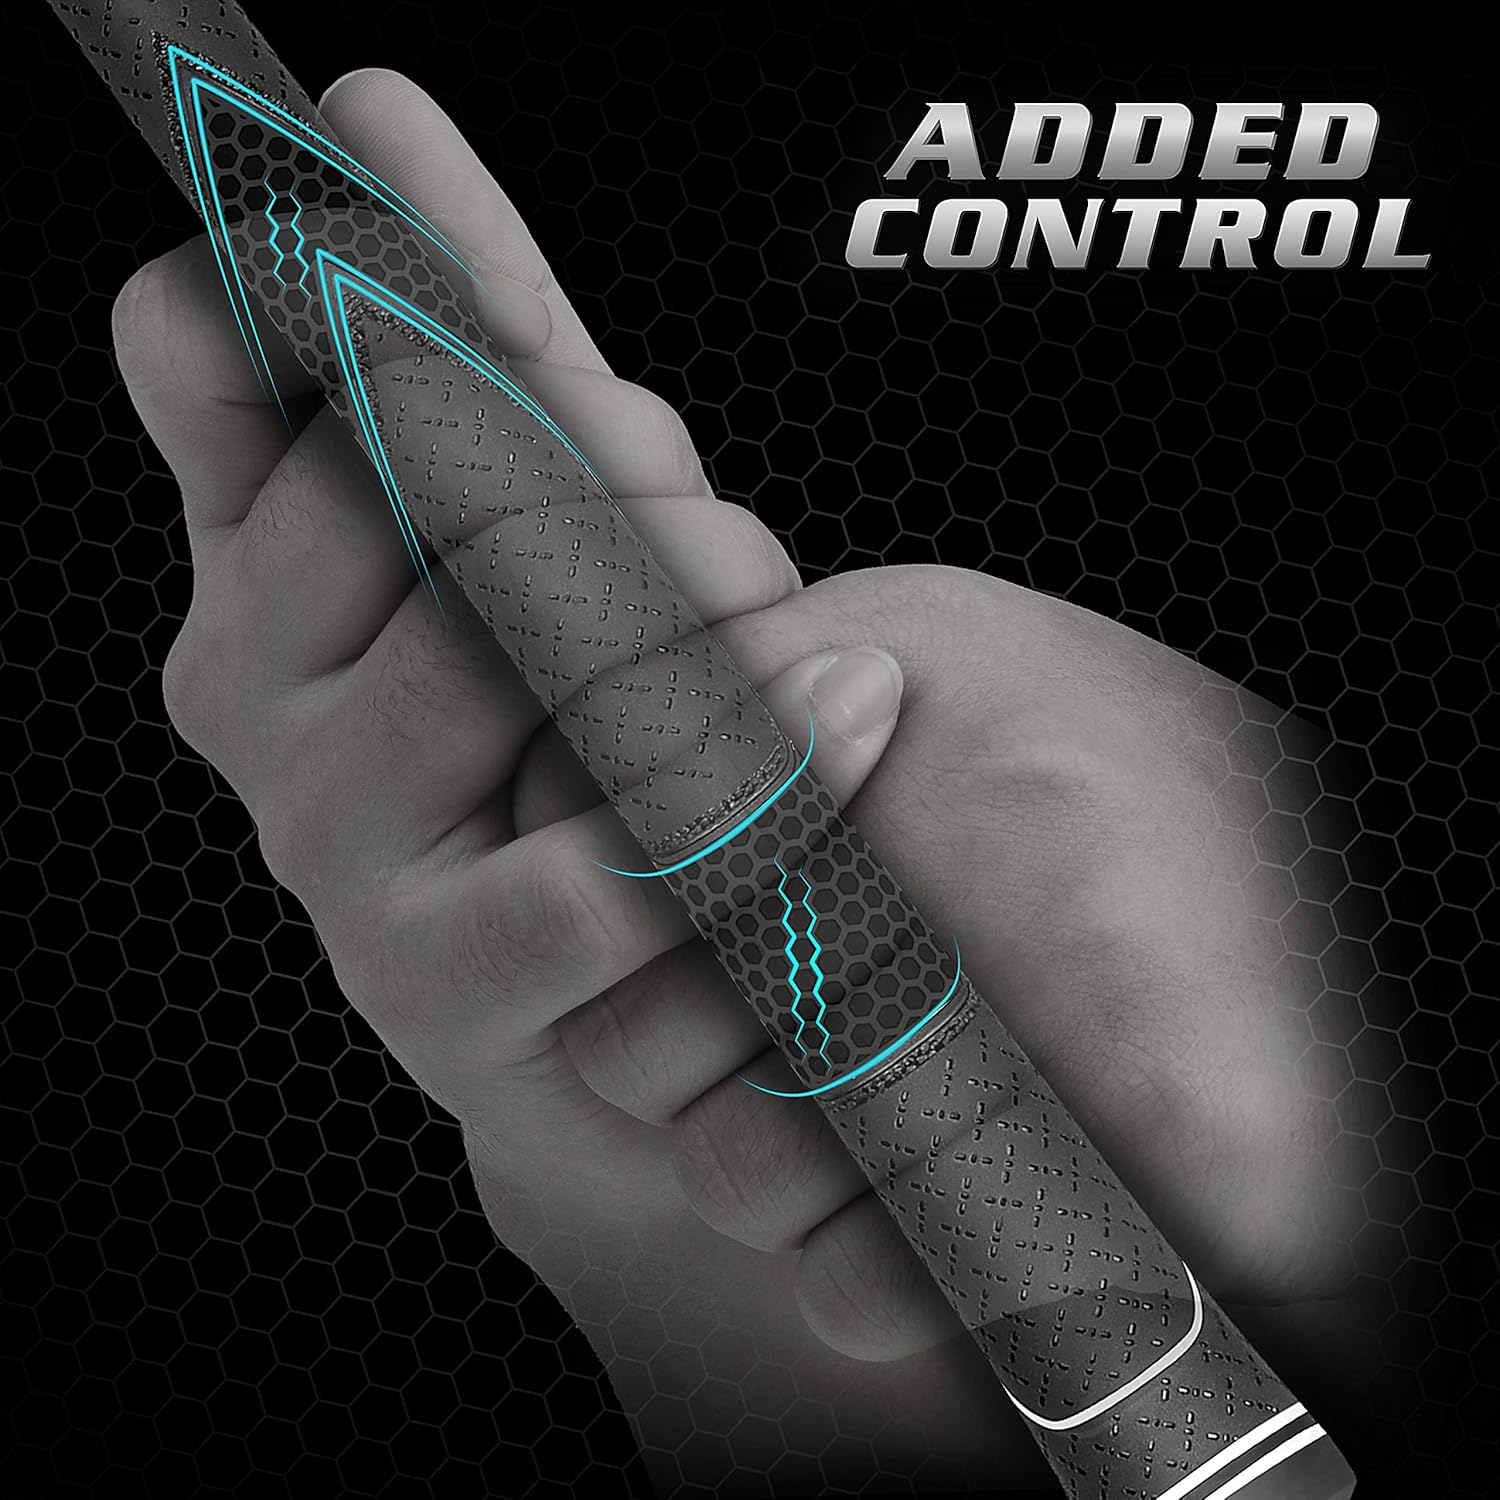
Taper Profile : Traditional taper profile encourages lighter grip pressure, promoting less tension in the hands and creating more fluidity and power throughout the swing.
Patent Pending : Designed by champkey and has applied for patents in the us, ca, jp and uk.
9 reviews for CHAMPKEY Premium Rubber Golf Grips 13 Pack | High Traction and Feedback
Add a review
Related products


Sports and Outdoor
BALINGE 26 Inch Womens Beach Cruiser Bike 7 Speed,Trek Hybrid Bike for

Sports and Outdoor
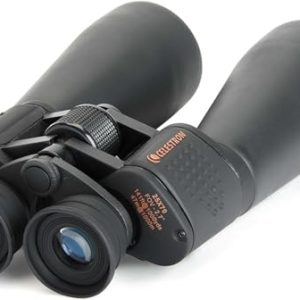
Celestron – SkyMaster 25X70 Binocular – Outdoor and Astronomy Binoculars –
Sports and Outdoor
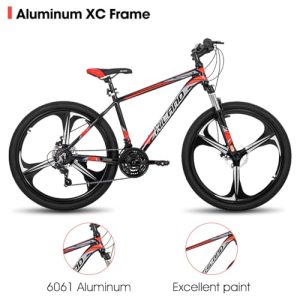
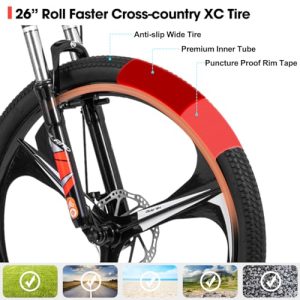
HH HILAND Mountain Bike, 3/6/Multi-Spokes, 21 Speeds Drivetrain, Aluminum
Sports and Outdoor
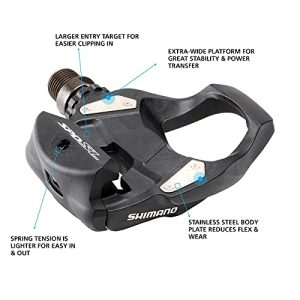
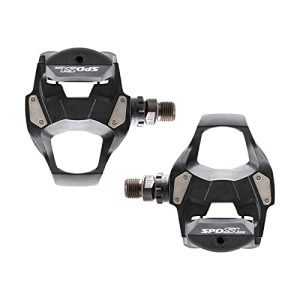
SHIMANO Unisex – Adult’s PD-RS500 SPD-SL Road Bike Pedal Black
Sports and Outdoor
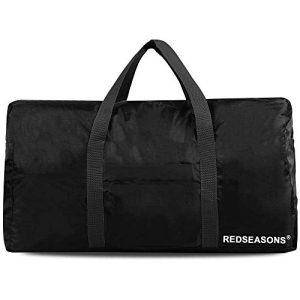
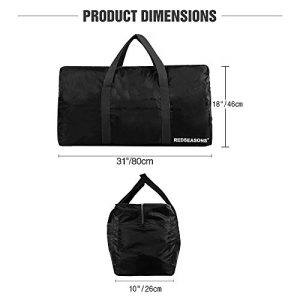
REDSEASONS Extra Large Duffle Bag Lightweight, 96L Travel Duffle Bag


Sports and Outdoor
TideWe Hunting Rangefinder with Rechargeable Battery, 700Y Camo Laser Range

Sports and Outdoor
Callaway Golf Paradym AI Smoke Iron Set (Right Hand, 5-PW, Steel, Regular)

Sports and Outdoor
Heybike Cityscape 2.0 Electric Bike for Adults with 750W Motor Peak,468Wh
Eddie –
Absolutely fantastic value
TL;DR – great value – easy to install – would definitely suggest for grips on a budget – color can smear if you get the solvent on the grip when installing (but for the value, that’s fine in my book)Let me start by saying I have never had clubs regripped. I’ve always used hand-me-down clubs and just used whatever grips were on them. I’ve ranged from a 12 handicap when I was in high school (20 years ago) to a 25 handicap (now) since I only play a few times a year as an adult.I purchased my own set of clubs 6-7 years ago, but they were used, and had aftermarket grips on them (no idea of the brand) and they seemed fine.I’ve cut back on some other hobbies lately in order to spend more time golfing. I’ve golfed 4-5 times this year and have noticed my grips flaking off in my hands and not doing great when I’m super sweaty. At this point I started researching new grips and how to do it at home to keep the budget down.When I googled golf grips, and the first results were $200+ for a set I about fainted. This led me to searching for budget grips and came across these. I found a few YouTube reviews on them and some posts elsewhere and they all raved about these grips.For $40 you get tape, a knife to cut off the old grips, solvent, a rubber vice clamp insert, and 14 grips. That’s well worth it to me so I gave them a shot.I got them in 1 day (thanks Amazon) and immediately installed them.Install time: this took about 2-3 hours for me. I’ve never done it before and didn’t have a vice clamp to use so I jerry rigged a setup and went to town. Pretty easy but my hands were definitely tired and a little roughed up at the end.Feel: They feel great. My old grips were a very soft/squishy material. These are much harder. The diagram on the listing shows that they are a “soft rubber” but if that’s the case, I’d hate to play with a “hard rubber”. I hit into a net with my 7 iron for about an hour today, and my non-gloved hand is definitely scraped up and I can feel calluses building. This is fine to me, and I enjoy the tackiness and feel of the grips, they’re just SOOO different than my old grips.Value: worth it. buying the tools included in this kit alone would put you at almost half the price ($15-20). I’m sure they’re not the BEST grips in the world, but at my current skill level and amount of playing, I’m sure they’ll be fine. As some other reviews mentioned, you can definitely smear/fade the coloring on the grips if you get a lot of the solvent on the outside of the grip. I did this on one of the first ones I gripped. After that, I just made sure to be a little more cautious and detail oriented to prevent the solvent from getting everywhere.Longevity: Can’t speak to this yet. After install, about 10 hours of waiting, and then hitting, they seemed very solid and installed well. No slippage or rotating on the shaft.I only play every 3-4 weeks right now and live in the Midwest so can only play a few months a year anyway. I do hit into a net pretty regularly in my garage though, so I’ll keep an eye on them and update after some time has gone by.
SJT –
Not a bad set of grips for a junior golfer!
Installed these grips on a set of my older tru temper steel shafts for my grandson. I have never done a set before. I cut the shafts and everything because he is of smaller stature right now. They actually turned out very nice! We will see how they hold up to an active teenager excited about the game. For the price, and in my opinion, they are a real bargain! They fit good, felt nice and sturdy, with good grip potential. They slid on pretty good with the kit purchased at same time. I did 1 wrap under grips. I will never pay to get grips done again, I will tell you that! It was kind of fun with my grandson! I would guess about 2 hours doing a full set with woods, having not done them before.
Fred –
Solid golf grips with a great price including an installation package
These are solid rubber grips that feel great in my hands. This is not a difficult process and it’s something that most anyone can do. Instructions would have made it much easier. A couple notes and lessons learned on the whole process:1. The description of the item is confusing and needs to be changed. The title of the product asks you to choose between two packages, but there is no option to choose. You have to read the fine print to figure that there is no option on the item you are looking at. I wasn’t 100% sure I ordered the kit until it arrived because of this confusing option with no options.Solution: There should be either a drop down selection with the options “Grips/Tape Only” or “Grips/Tape and Installation Package”. – OR- Create two separate listings and change the titles to match the options.2. If you don’t have any tools then you should get the kit. In retrospect I wouldn’t get the kit since I have a razor knife and mineral spirits (yes the liquid is mineral spirits), and I didn’t use the vice adapter (held club in free hand). I needed a hook blade for removing the old grip.3. Removing old grips can be messy and tedious. Using the hook blade to cut off old grips works great, but you may have a combination of old grip, tape and adhesive to remove as well. Use a regular razor knife to carefully remove large pieces from the shaft. If you have graphite shafts like me, be careful not to cut into your shaft but scrape it at 90 degrees. To clean your old tape and adhesive off, use the mineral spirits to soften it and wipe it off with paper towels until squeaky clean. A small residue is okay since the tape is designed to work with mineral spirits.4. I really could have used detailed instructions which were not provided. I checked out a couple online videos to get the general process figured out, but wasn’t sure about the 2-sided tape. Which side of the two sided sticky tape to put on the club? I found out that the white backing is stickier than the blue side of the tape, and the blue strip is supposed to be used to press the tape onto the club. ** PEEL THE WHITE BACKING OFF FIRST AND STICK IT TO YOUR CLUB, THEN USE THE CLEAR BLUE BACKING TO PRESS IT ON FIRMLY. THEN REMOVE THE BLUE BACKING LAST *** I5. Mark each club with a sharpie to align each grip identically, or use an existing label on your shaft. There is a logo and a small < on the grip that can be used for alignment.6. Installation can be a little messy as well. Get a paint tray to collect the mineral spirits as you go through this process. Make sure that the inside of the grips AND the newly installed tape are lubricated completely. First fill the grips with 1 oz of mineral spirits plugging the small hole with your finger. Then put your other finger into the other side of the grip and swish the liquid around the inside of the grip for at least 30 seconds, then let drain on the shaft/tape and into the tray. I would use a 1" paint brush to thoroughly wet the tape with the spirits now resting in the tray. If you can't get the grip installed within a minute of wetting the tape, take a couple seconds to re-apply more spirits to it because it gets tacky quickly. Try not to get the liquid on your hands because the next step requires a good grip literally.7. Showtime - putting your new grip on. You can use a vice with the tools supplied, but I opted to just hold the club in my other hand which worked fine. Getting the grip started on the shaft can be tricky and it may not seem large enough. I found that starting the grip at a 45 degree angle while pinching the grip 1/2" from the tip worked best for me. Once it's on push as far as it will go without stopping. Then hold the grip more in the middle to get it all the way on. The grip stretches when you pull it on and bounces back when you let go, so make sure it's all the way on.8. Finishing steps are to tap the end of the grip on the ground multiple times to completely seat the grip. Now recheck your alignment. You can make adjustments in the next minute or so to get it right, and then set it aside to dry.
Rich –
Excellent Product
Easy to install and worked very well all season. Excellent feel, grip and playability. Good price to boot
Rick –
Great quality, excellent value, handy install kit, great look.
MartÃn favela –
Tiene un excelente agarre
Amazon Customer –
Perfect whe fitted, will have to see how long they last
Jonny H –
So, I have a golf pride midsize on my 2 iron but regular grips on all my other clubs. The midsize on the golf pride feels great but couldnât justify the cost of 12 more. Thatâs where these bad boys come in. They are basically the same and at a fraction of the cost! Maybe a little harder but nothing you can really notice, still feel soft though. Iâve put them on all my irons, wedges and my driver. Took me a couple of hours in total to remove old grips and tape and then install new grips but itâs quite straightforward. Just be sure to use enough solvent! Nearly got one stuck half way. Also get yourself a vice clamp, makes the job easier.
Amazon Customer –
Really good grips, long lasting, easy to fit (use plenty of solvent!), and at a fraction of the price of “brand” names.